OpenClaw (Moltbot / Clawdbot)
Use GPT, Claude, and Gemini models in OpenClaw (Moltbot / Clawdbot) via the AICodewith plugin. Clawdbot was renamed Moltbot and then renamed again to Openclaw.
MacOS/ Linux
1. Install Openclaw
In the terminal run:
npm install -g openclaw@latest
openclaw --version

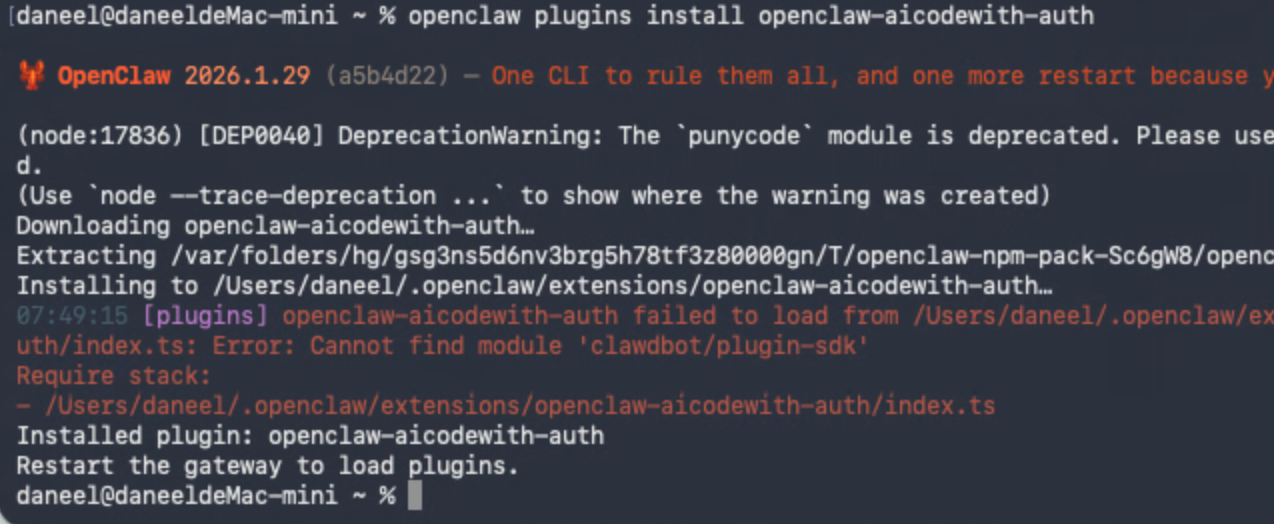
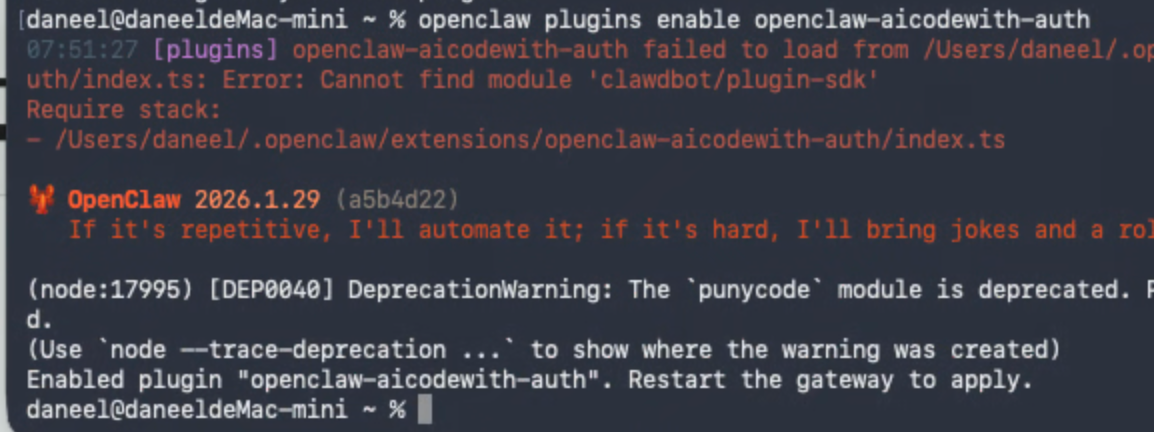
2. Install the AICodewith plugin
In the terminal run:
openclaw plugins install openclaw-aicodewith-auth
openclaw plugins enable openclaw-aicodewith-auth

openclaw gateway stop
openclaw gateway run
3. Configure the API
Run the authentication command:
openclaw models auth login --provider aicodewith-claude --set-default
openclaw models list | grep aicodewith
Enter your AICodewith API Key
View available models:


4. Perform initial configuration (required for the first installation)
Start the configuration process:
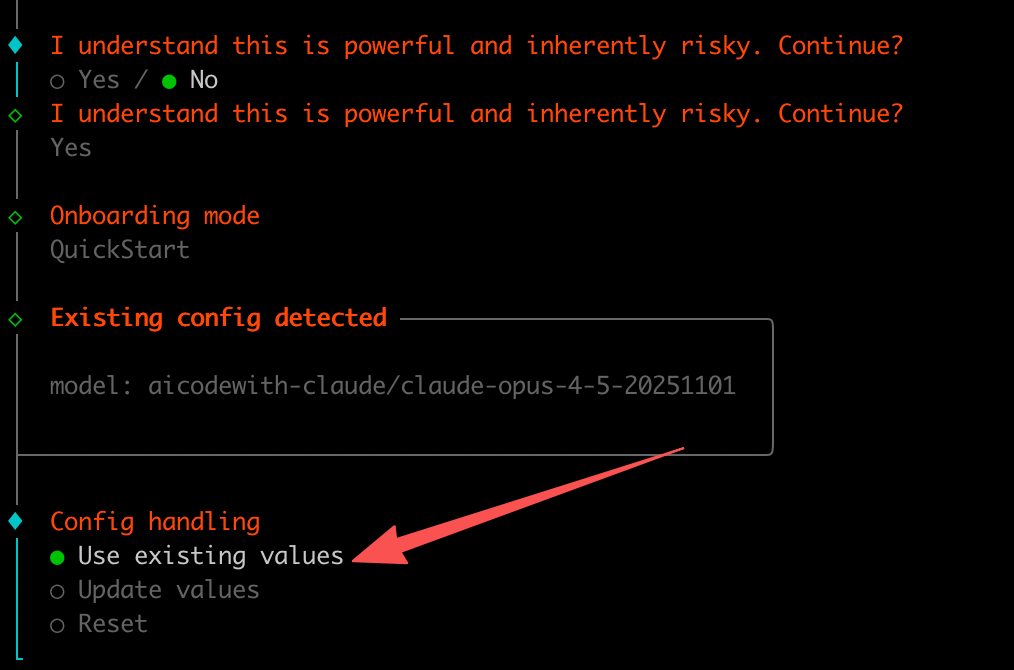
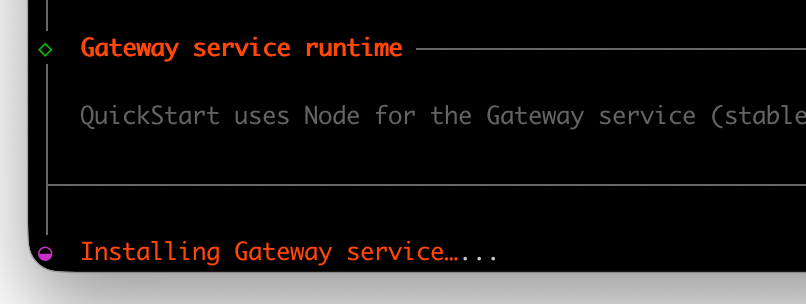
openclaw onboard --install-daemon
- Select yes here
- Select quick start
- Here, choose to use an existing configuration
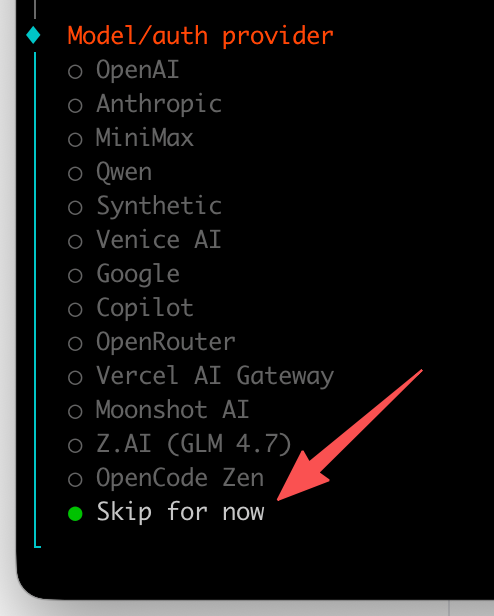
- For this model provider, choose to skip
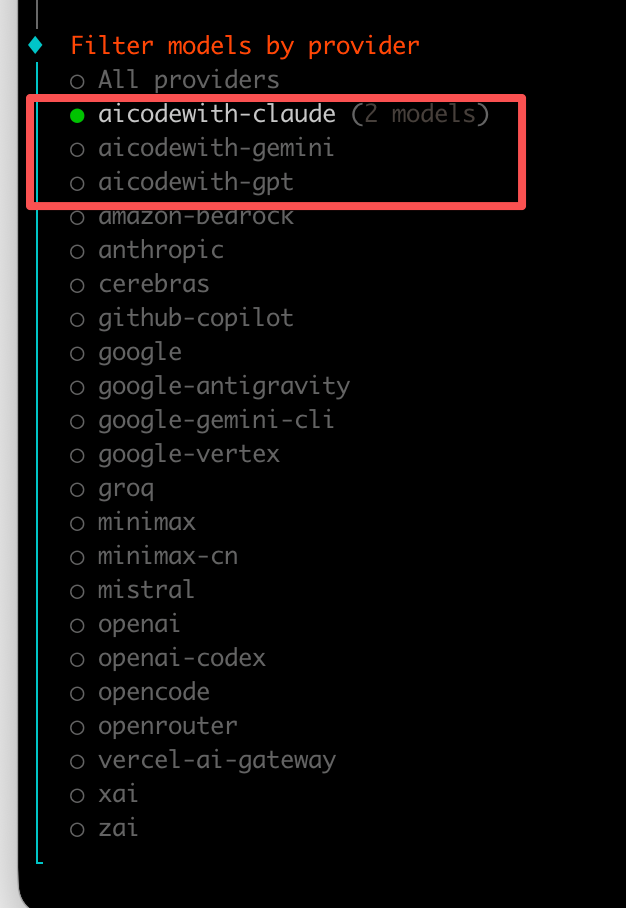
- Here, choose aicodewith; it’s recommended to use Claude, which has the strongest tool-calling capabilities.
- Choose a default model according to your own needs.
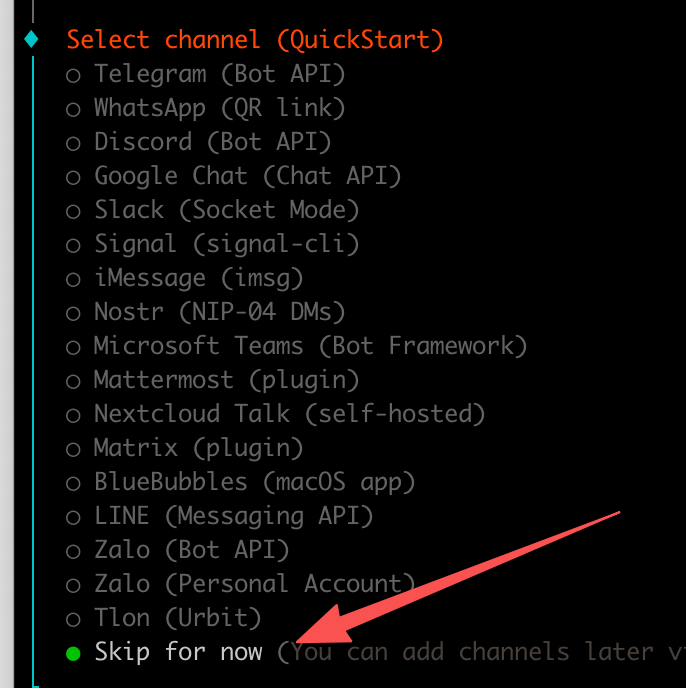
- Next, choose the chat channel. We’ll skip this for now and configure it later.
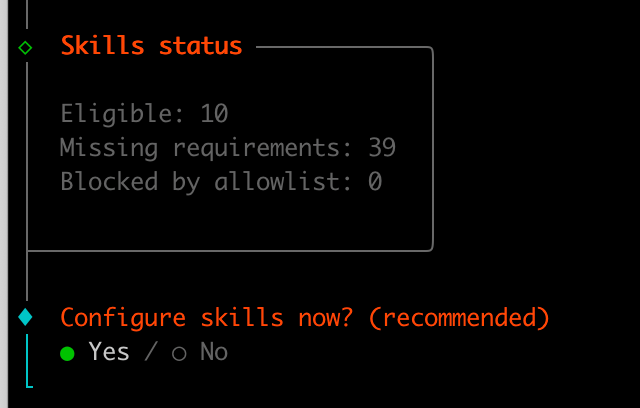
- Configure the skill; here you can add some


I recommend these skills, from top to bottom: one for monitoring/reading blogs, one for the ClawdBot documentation, one for managing mcp, and one for connecting to Obsidian notes.

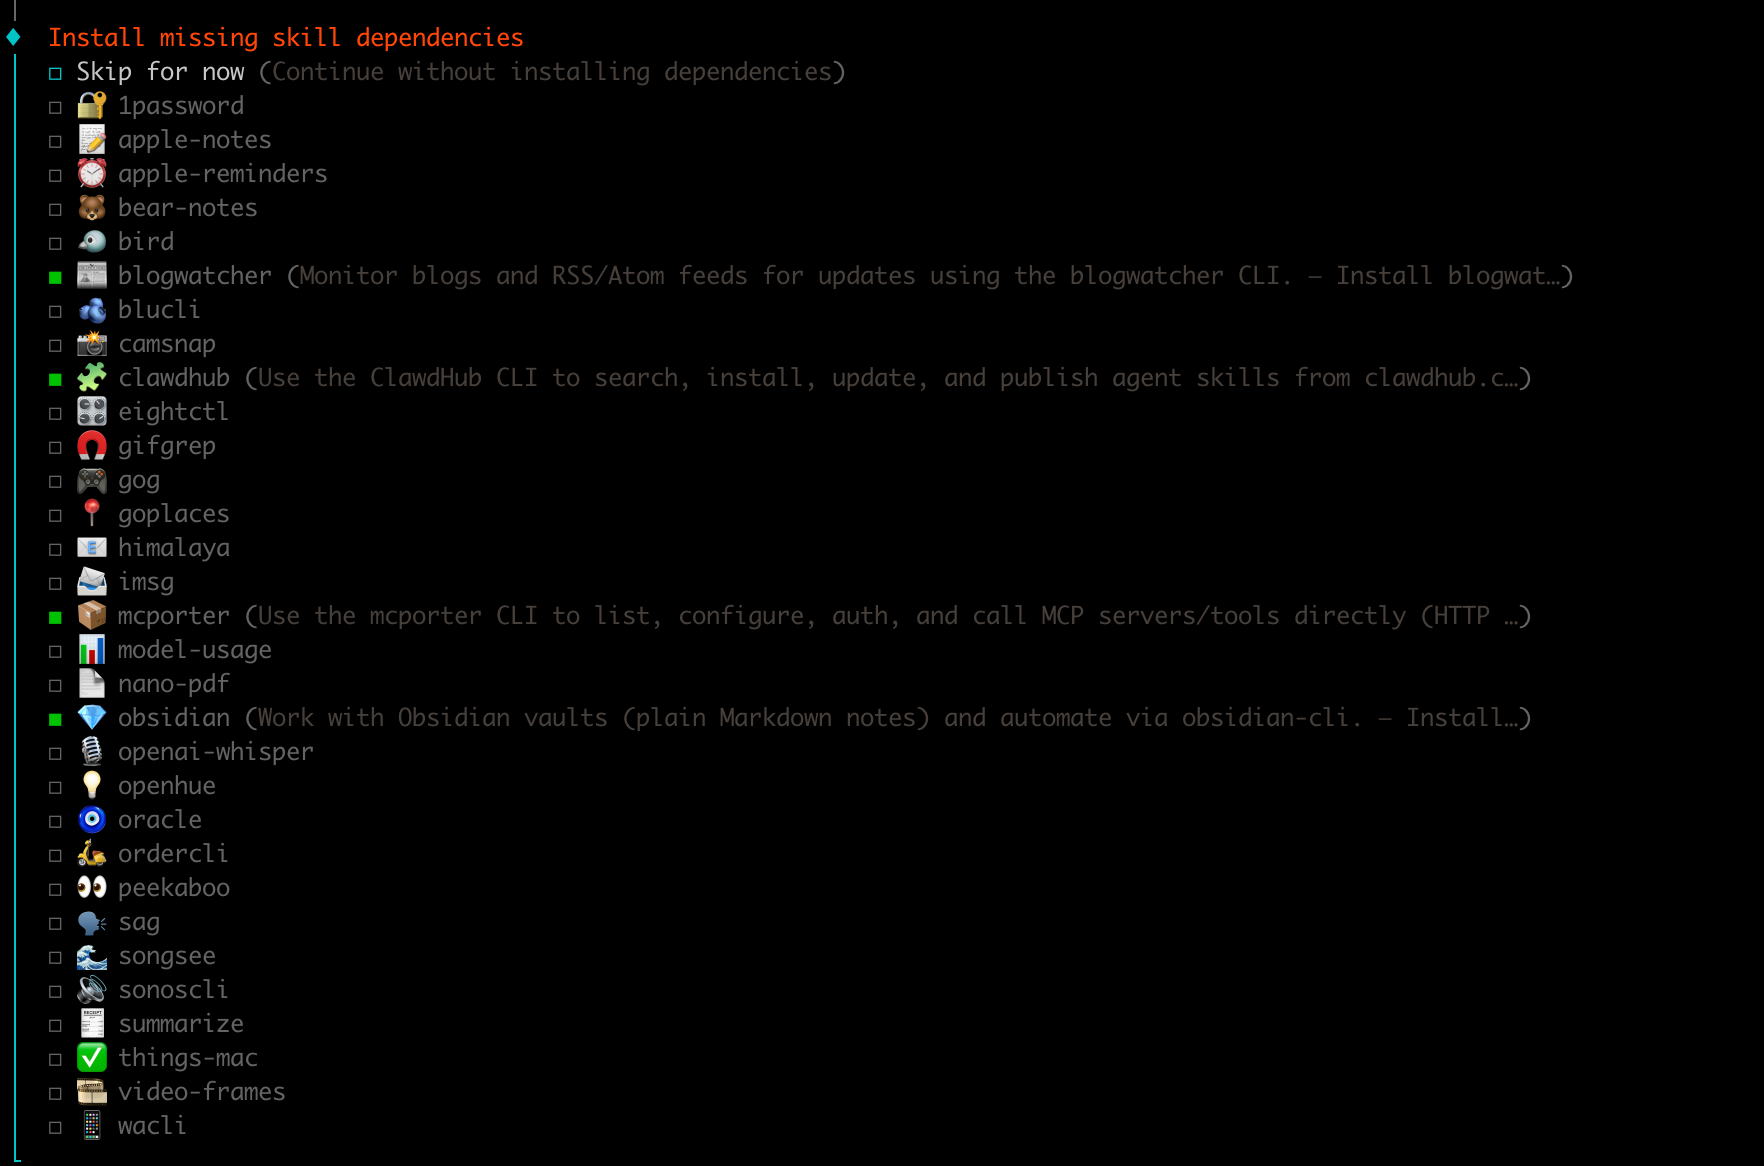
Press Space to select, and after you finish selecting, press Enter to confirm.
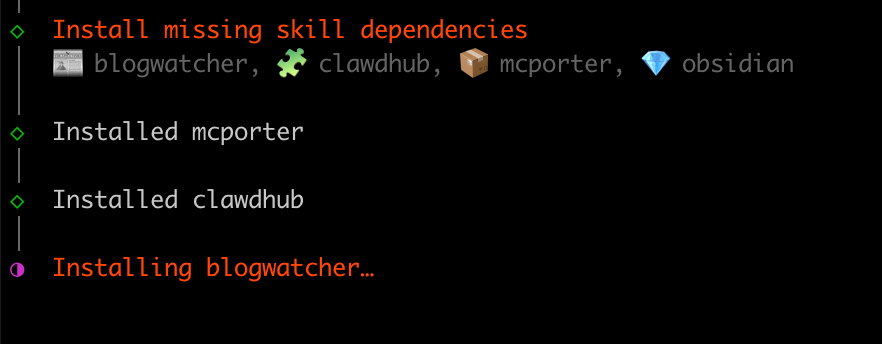
Next, just wait patiently for it to finish installing.
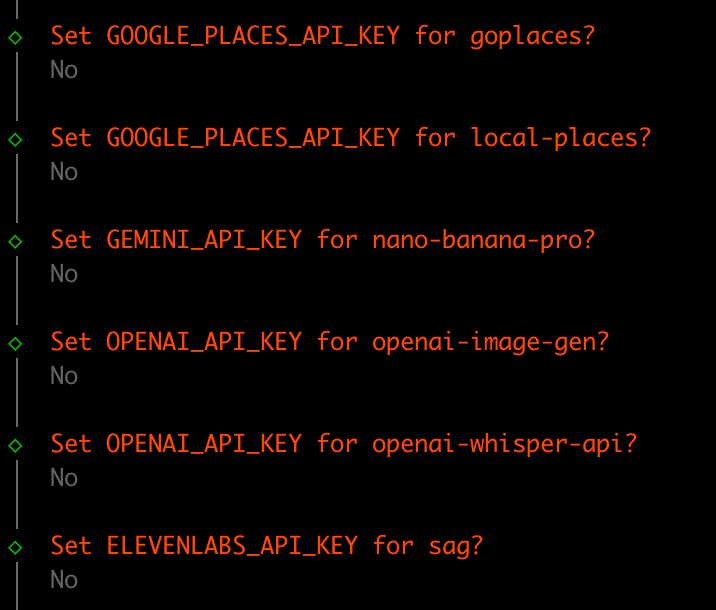
For the following APIs, just fill in whatever applies to you. I basically don’t need any of them, so I just set everything to no.
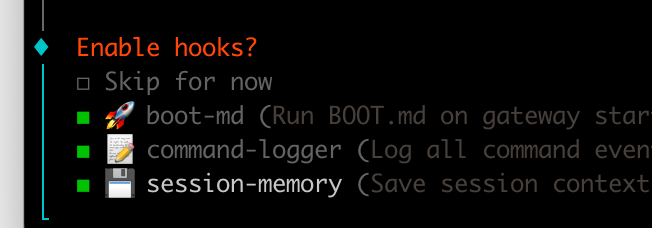
hooks fully enabled
Configuration complete, starting up

The computer will pop up some permission requests; just approve them all.
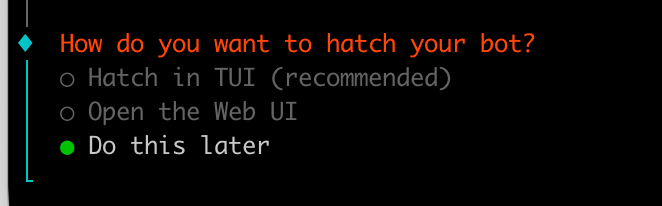
This step is asking whether you want to connect the robot now. No need, we can just follow the tutorial below and connect using tg.

Configuration completed!
Configure Telegram
This needs to be set up with a place where it can interact with users, and at the moment WeChat is not supported.
Here I’ll explain why I only teach the configuration for tg
Because the user experience in TG is the best, and the founder himself controls everything through tg.
So I’ll use tg as an example here and let everyone start playing with it first.
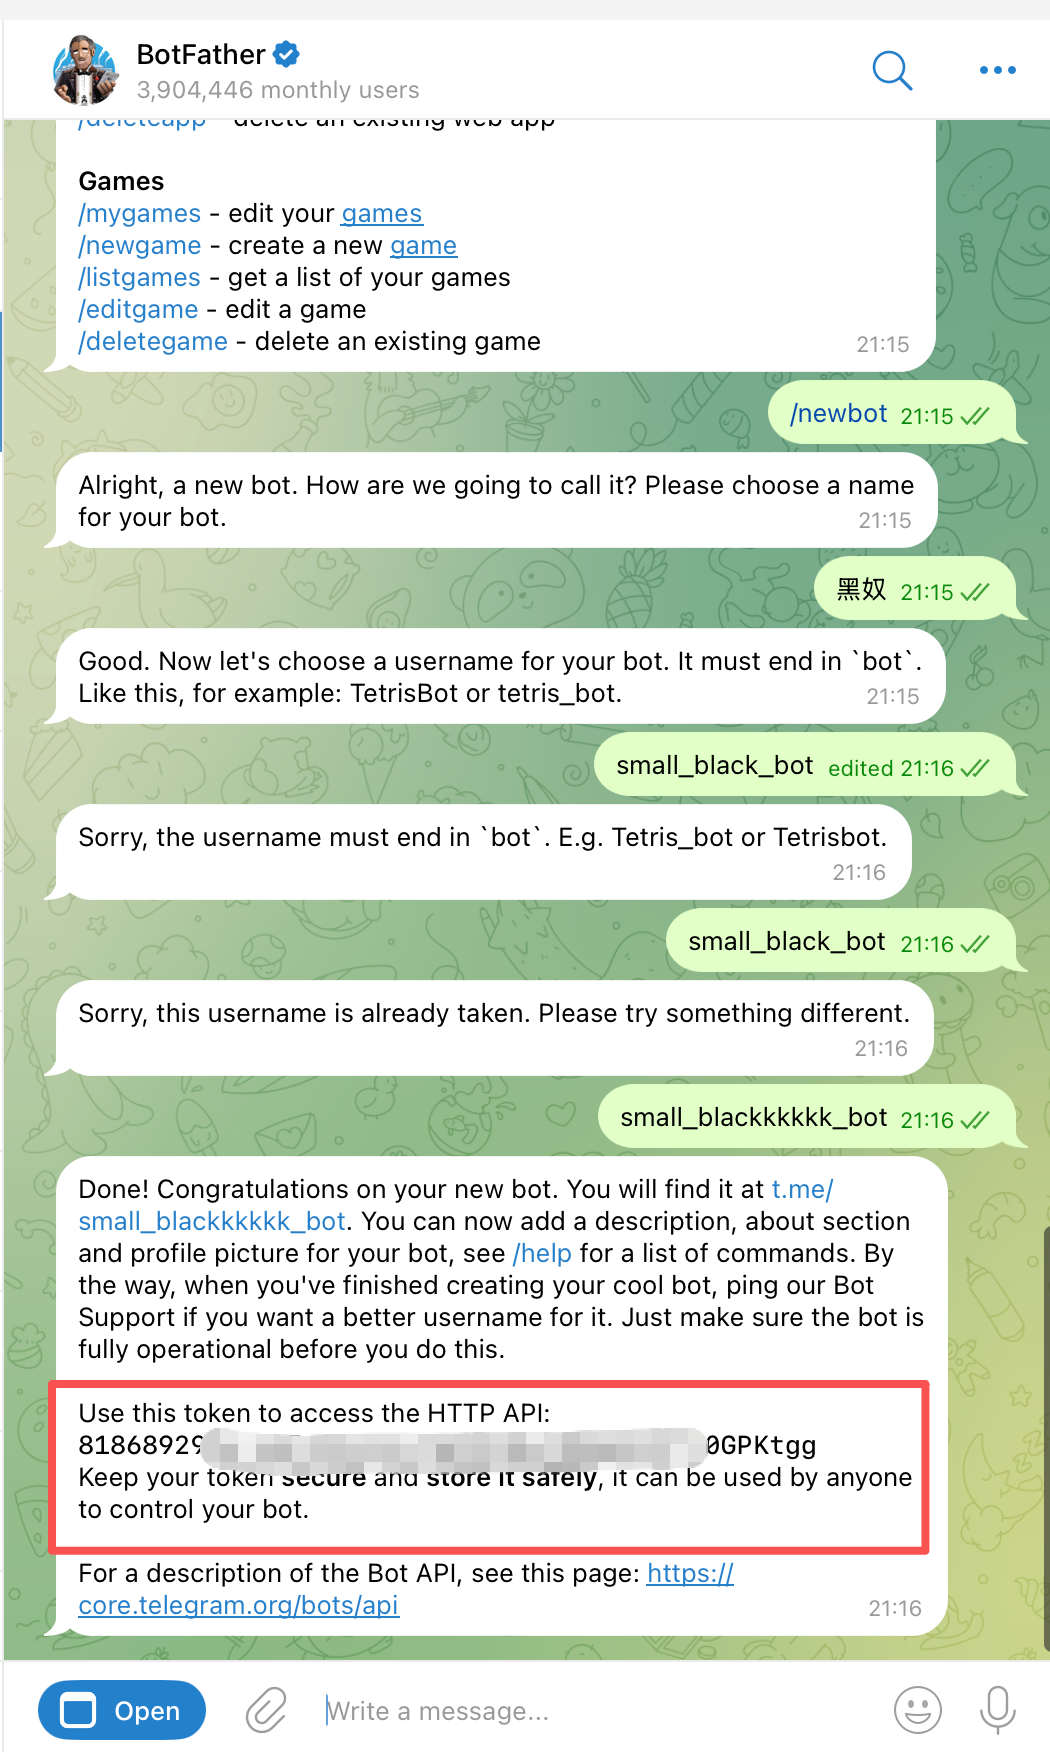
1. Obtain the Telegram Bot Token
- Search in Telegram for @BotFather
- Send /newbot
- Set the bot name as prompted
- Obtain the Bot Token (format: 123456789:ABCdefGHIjklMNOpqrsTUVwxyz)
2. Enable the Telegram plugin
This step needs to be executed in the terminal on your computer, and this plugin is disabled by default.
openclaw plugins enable telegram

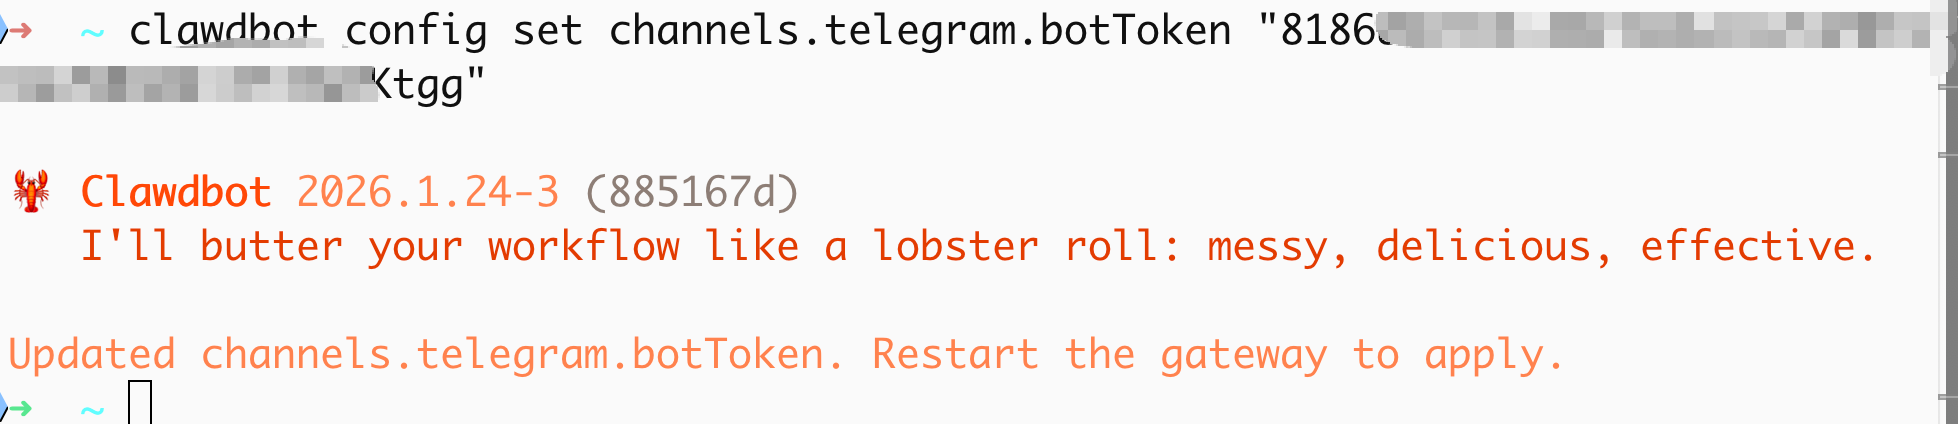
3. Configure the Bot Token
Enter here the token you obtained in the first step
openclaw config set channels.telegram.botToken "your Bot_Token"
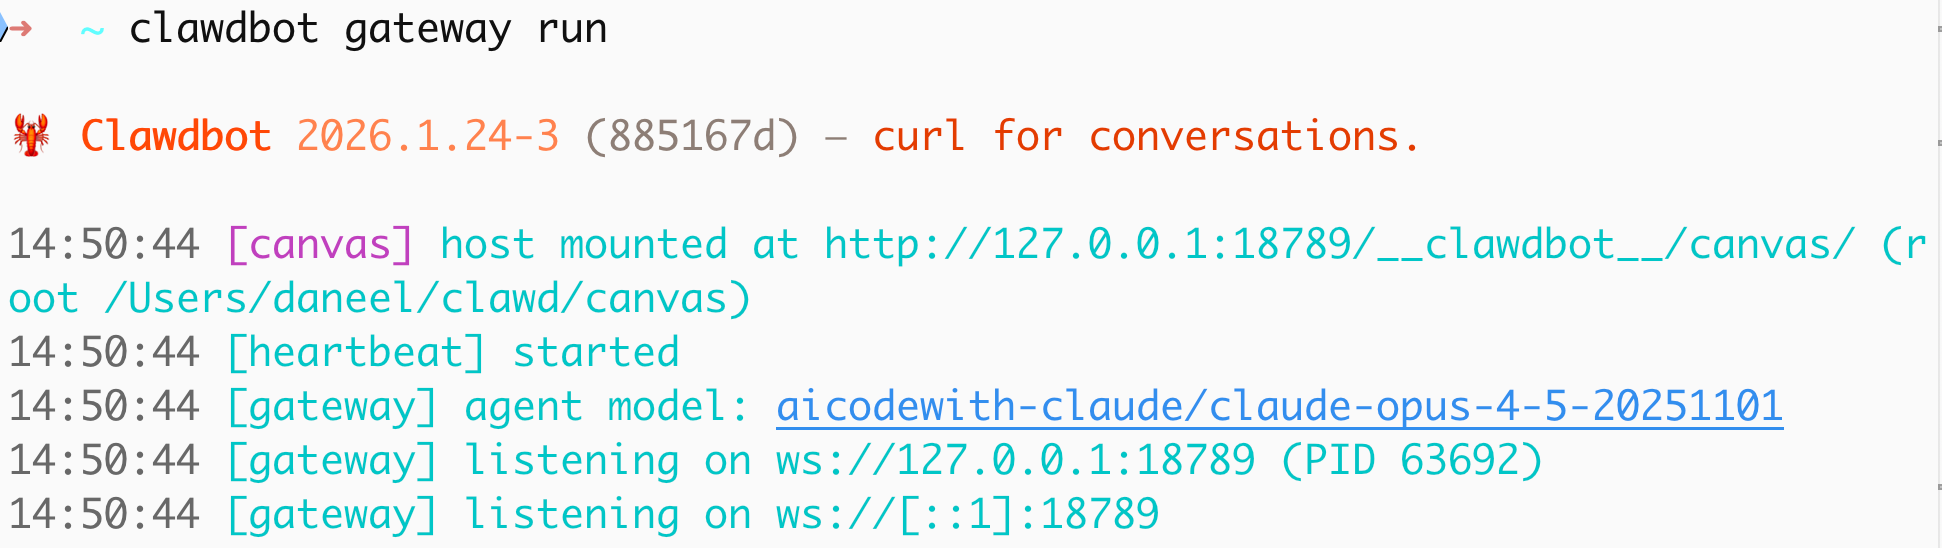
4. Start the Gateway
openclaw gateway run
If an error occurs, you can first try stopping it for a moment.
openclaw gateway stop
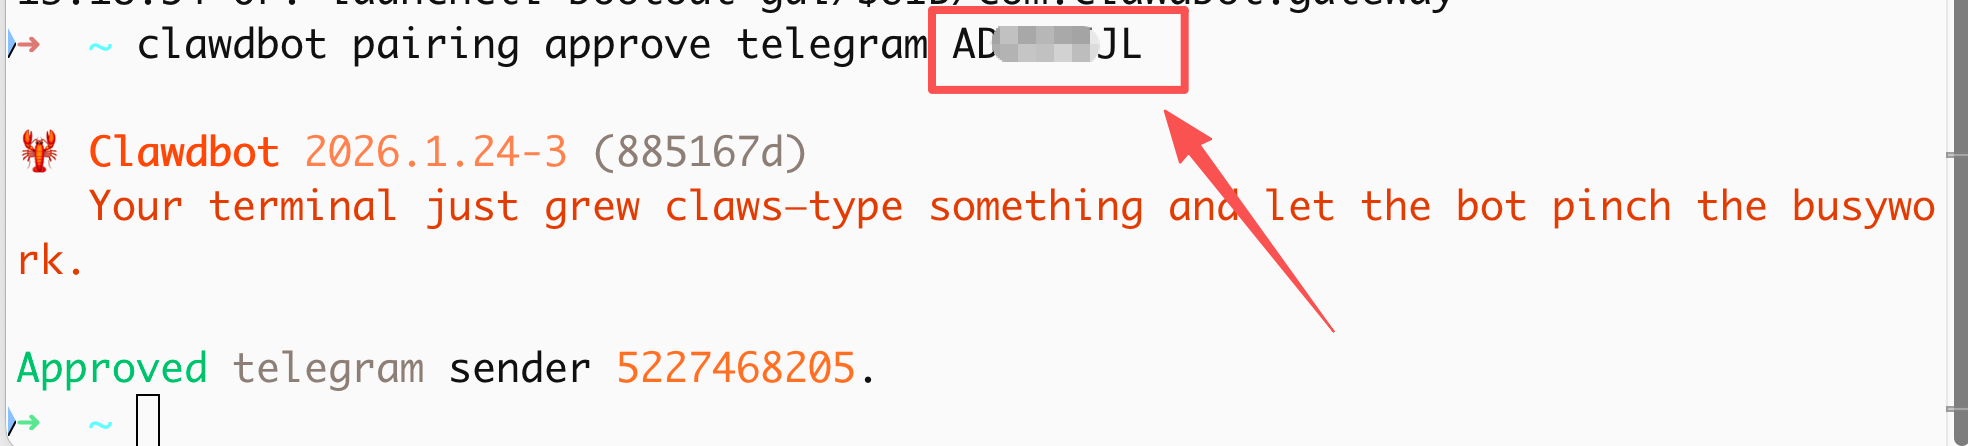
5. Testing
Find your bot in Telegram, send any message, and the bot will give you a verification code.
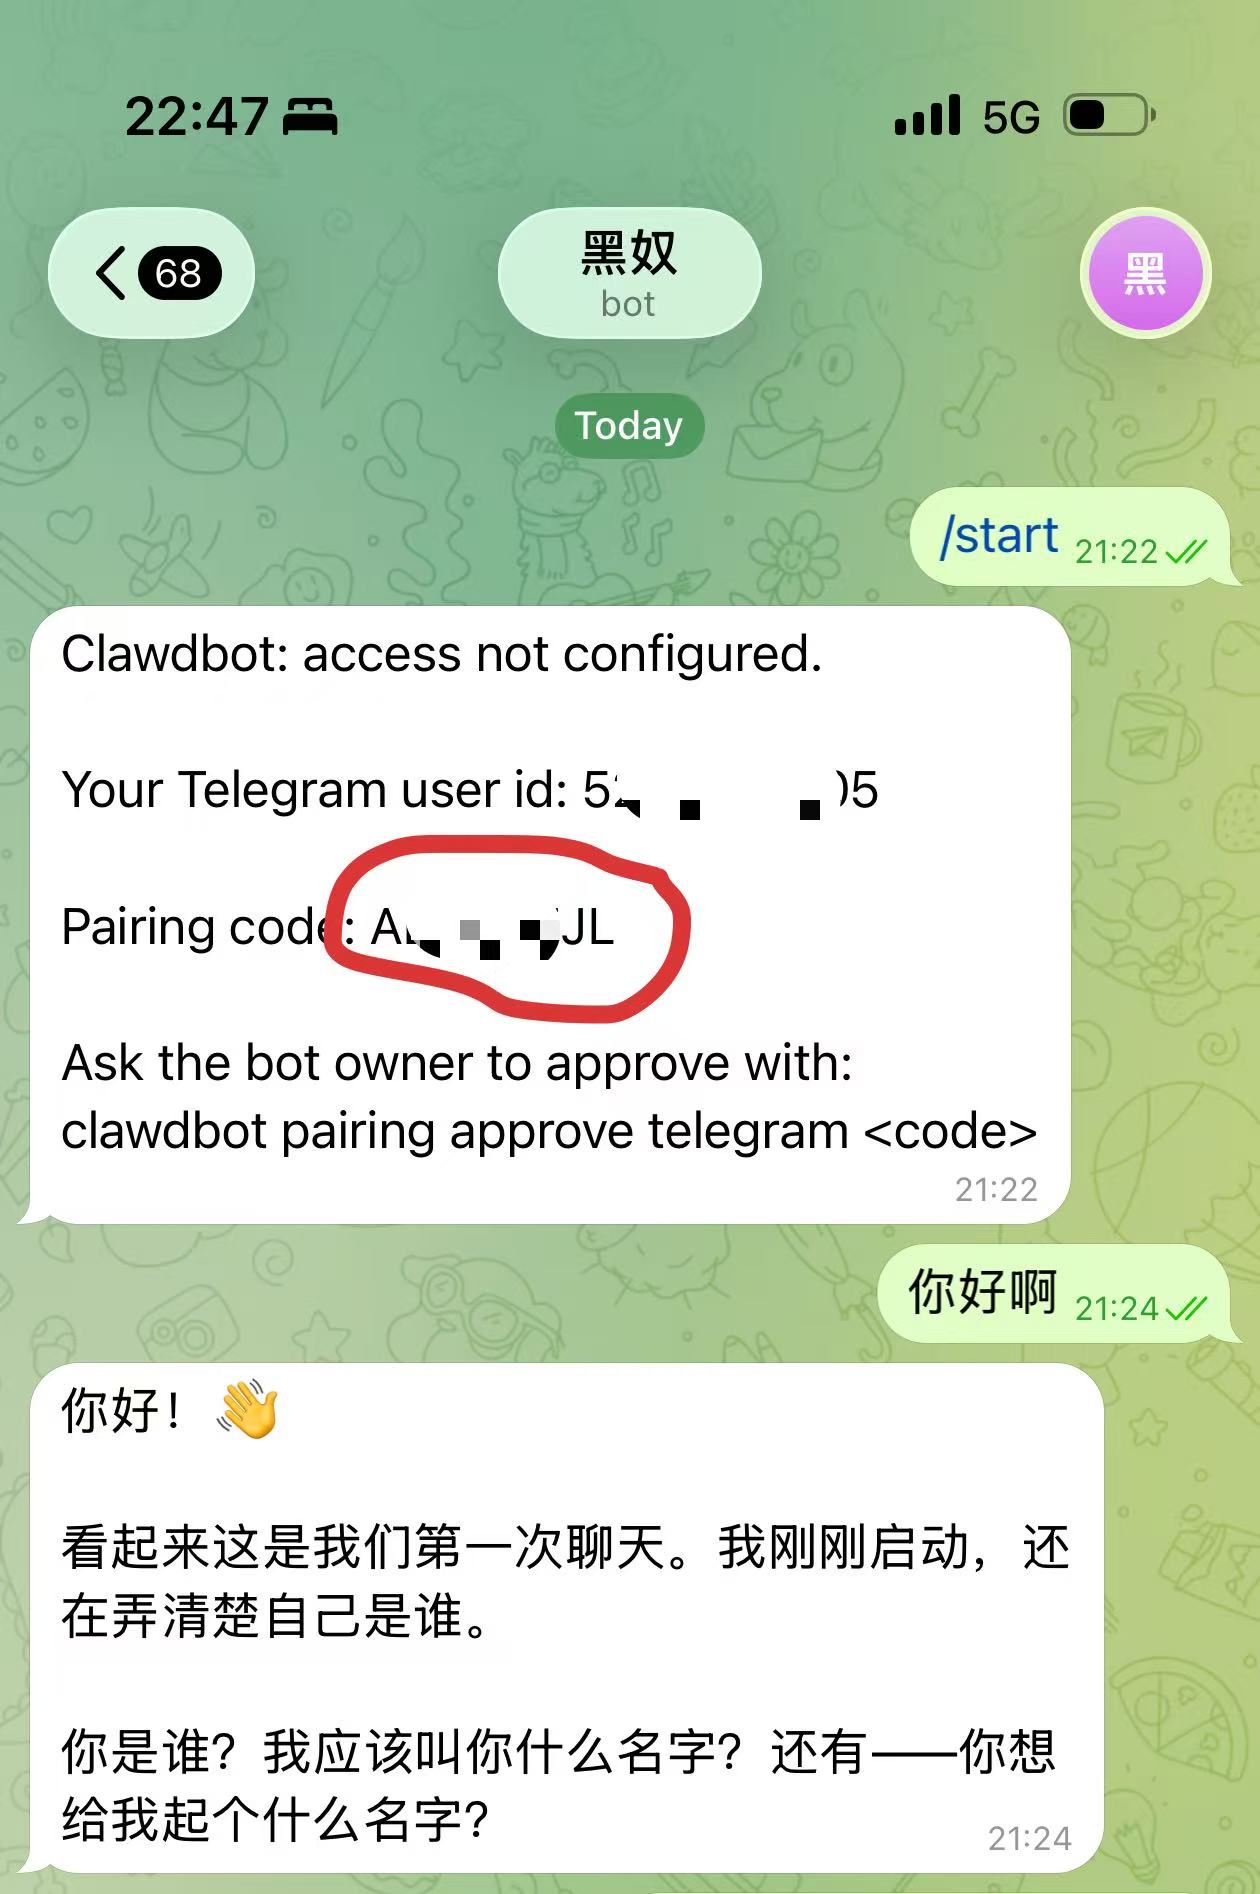
Then you need to run the following command on your computer:
openclaw pairing approve telegram your verification code